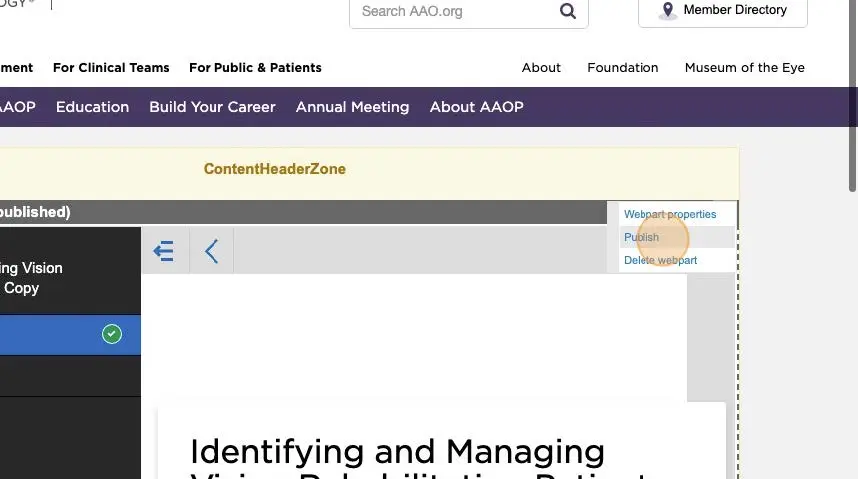
Adding Badges To Exams
There are 2 ways to add badges. One is to the course completion so if a user completes the course they will receive this badge. The second way is to the exam completion. If a users passes the course based on the setup requirement a badge will be sent.
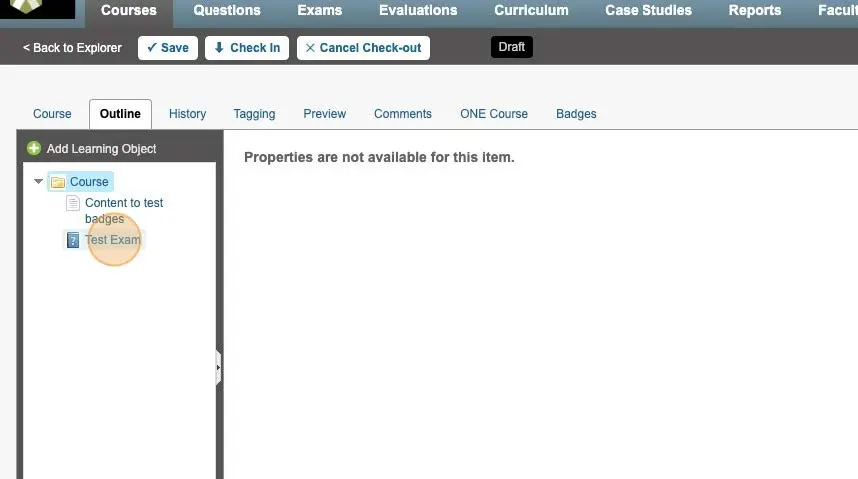
Step 1 : Create or Open your Course. Click Add Learning Object and add and exam node.
Step 2 : Add your Badge Title and Select and Image that you want from the Media Gallery
for your Badge.
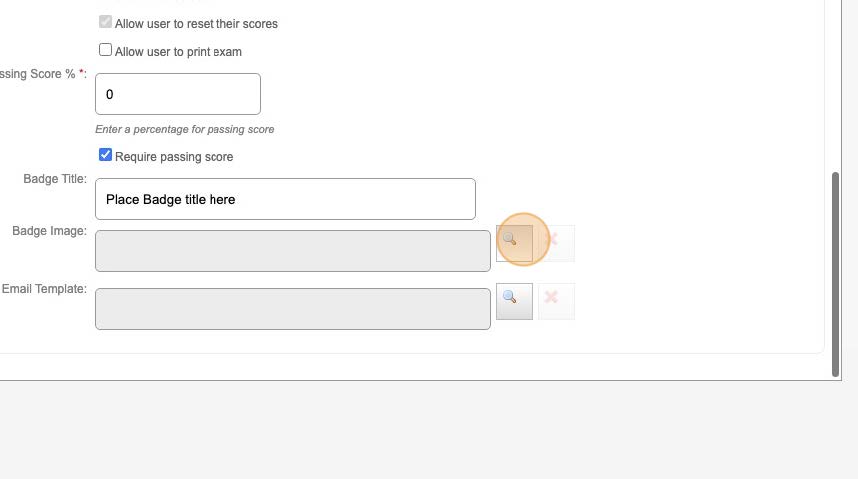
Please note: Badge sizes and vary depending on where you want to place the Badge Webpart. Please consult the design team.
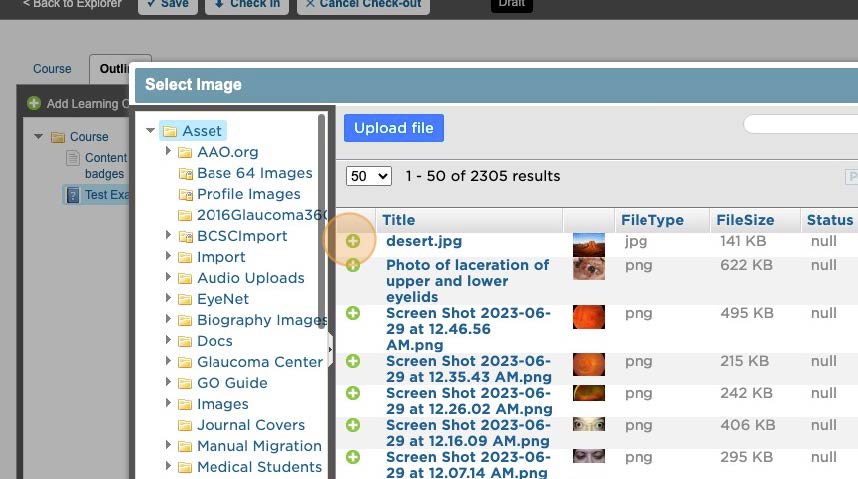
Step 3 : Select your badge.
Step 4 : Add a prepared Smartdoc "Email template" This can be a certificate or just a friendly marketing email congratulating them on their success.
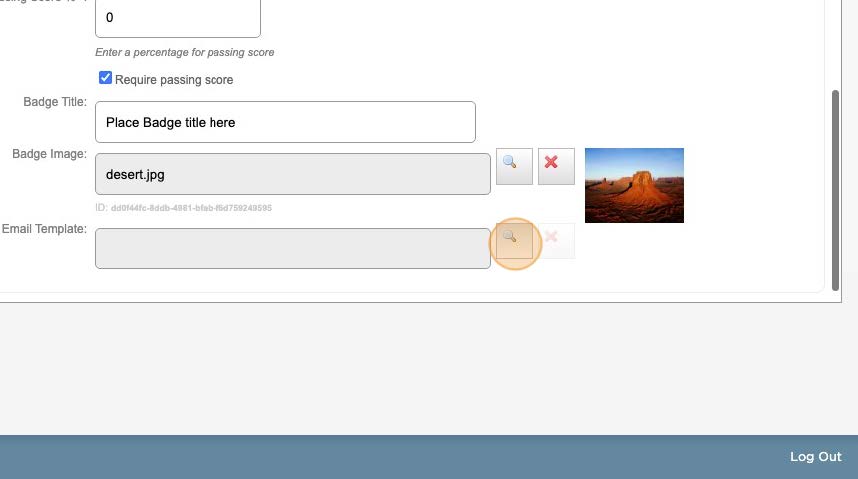
Please note: You can add smart fields in the email template to pull in user information.
Step 5 : A "n4m Email Template" must be used for this to work.
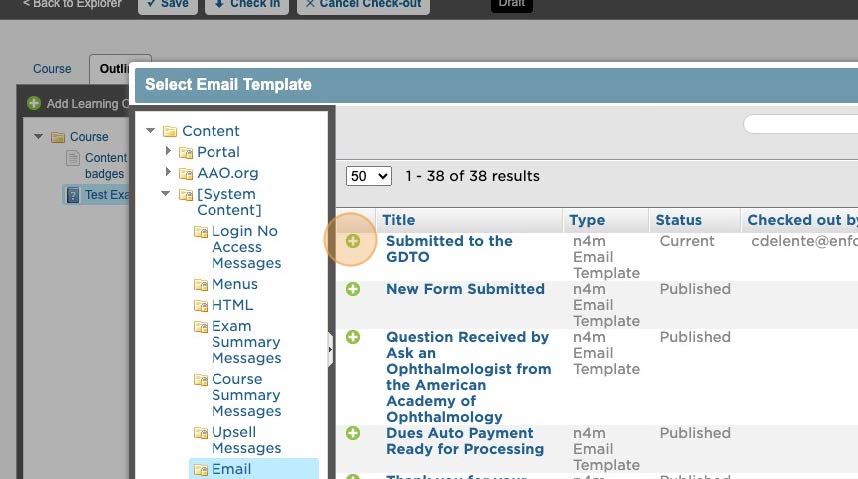
Step 6 : Save Learning Object
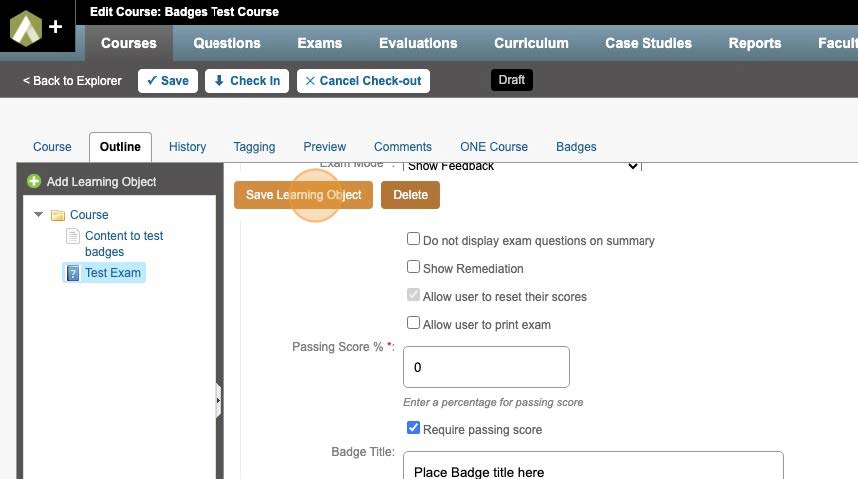
Add Badges to course
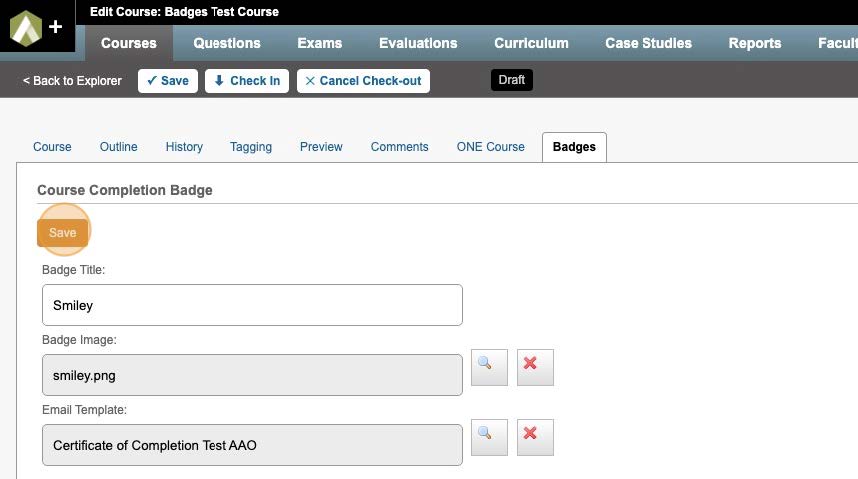
Step 7 : Click the Badges tab in the course.
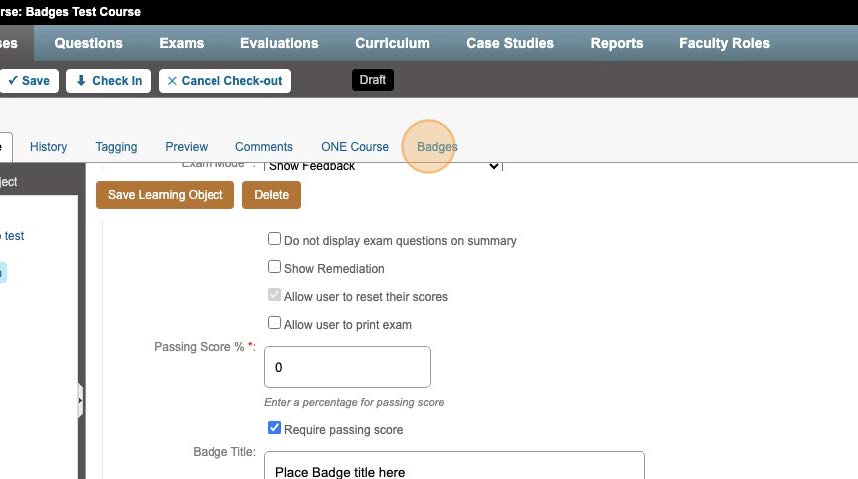
Step 8 : Add Badge Title, Badge Image and Email template then click save.
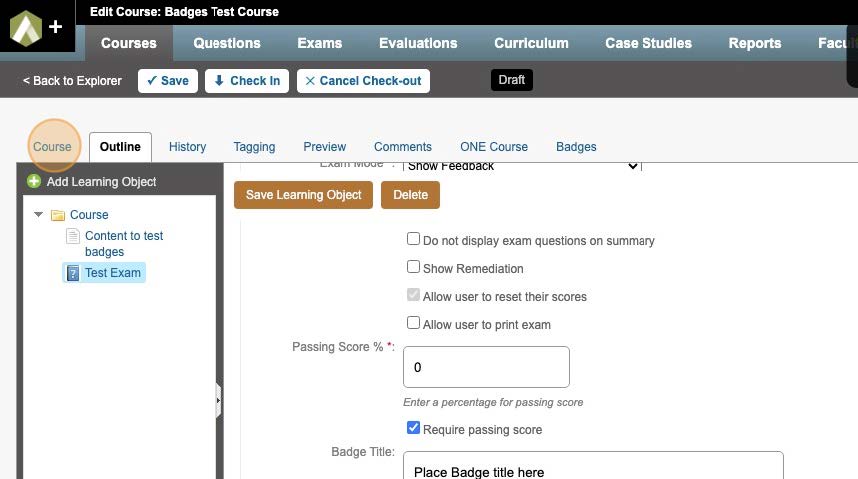
Step 9 : Last Step is to create a page URL that you want users to use to go to the course
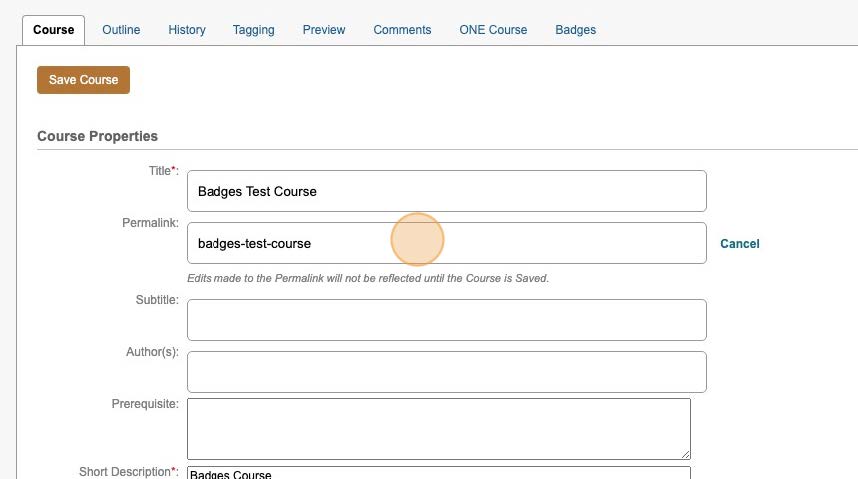
Step 10 : Either leave the permalink as is or update it and name it what you want to use as a marketing URL.
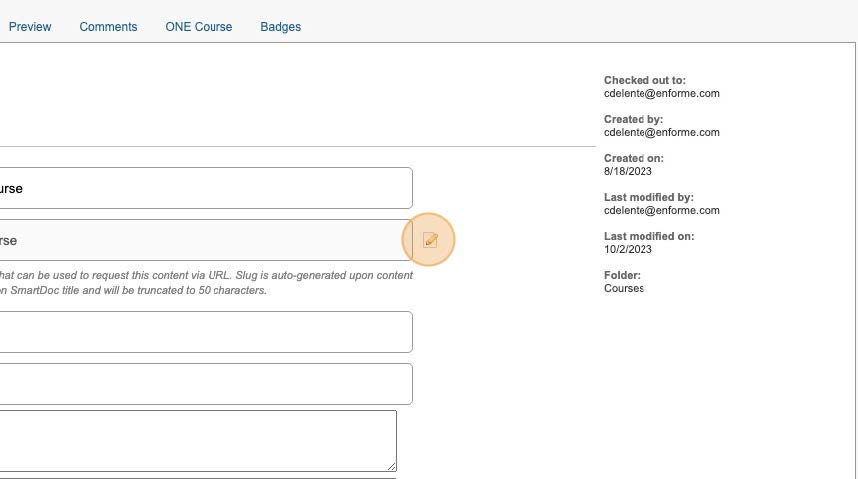
Step 11 : If you want to update the Link just click the Edit Icon and that will allow you to edit.
Step 12 : Save the course
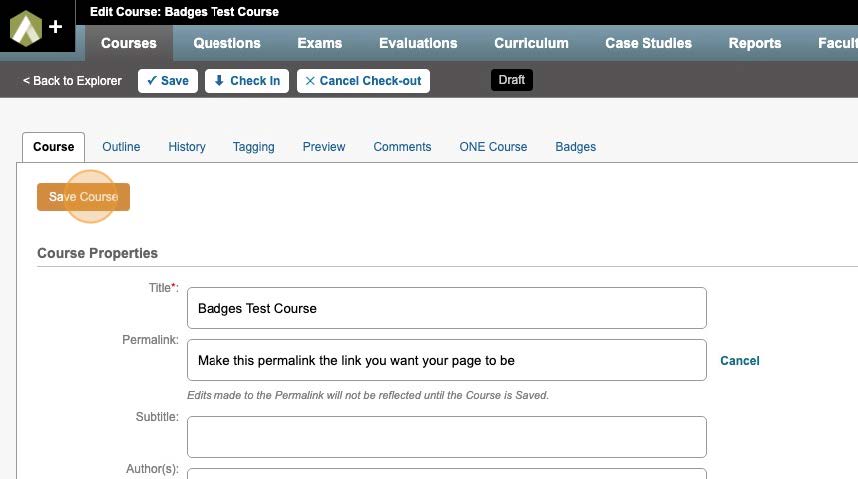
Step 13 : Check in
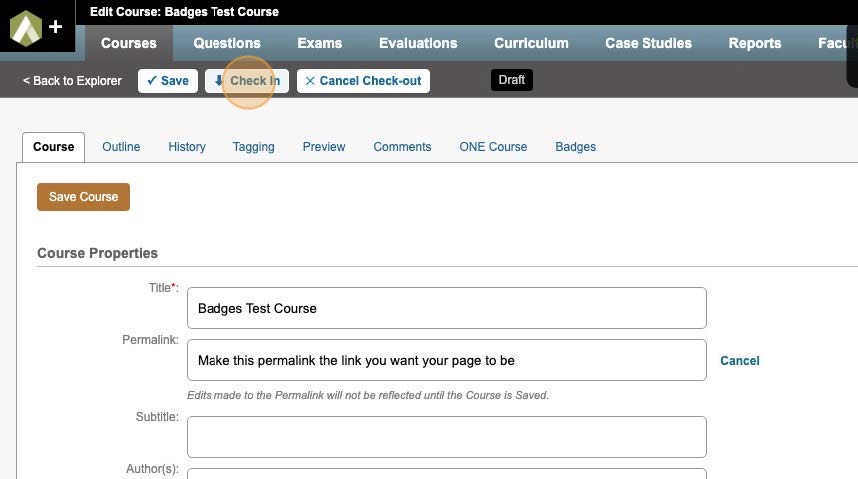
Step 14 : Click "Check In"
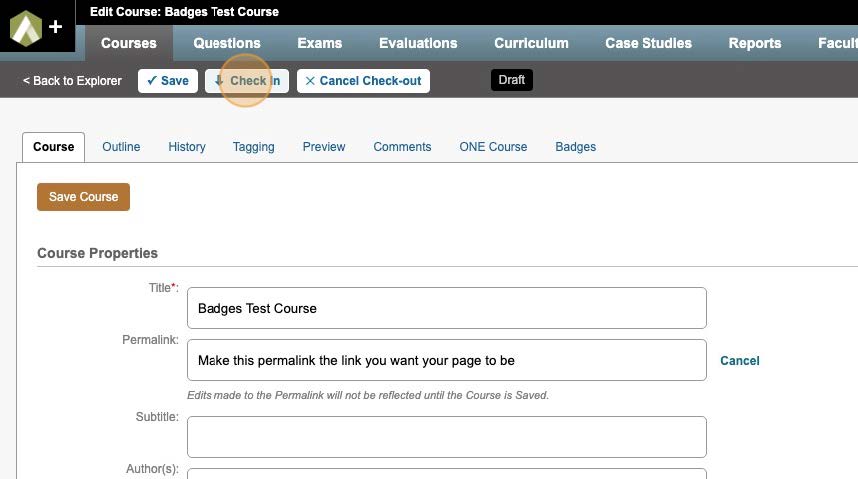
Step 15 : Click this button field.
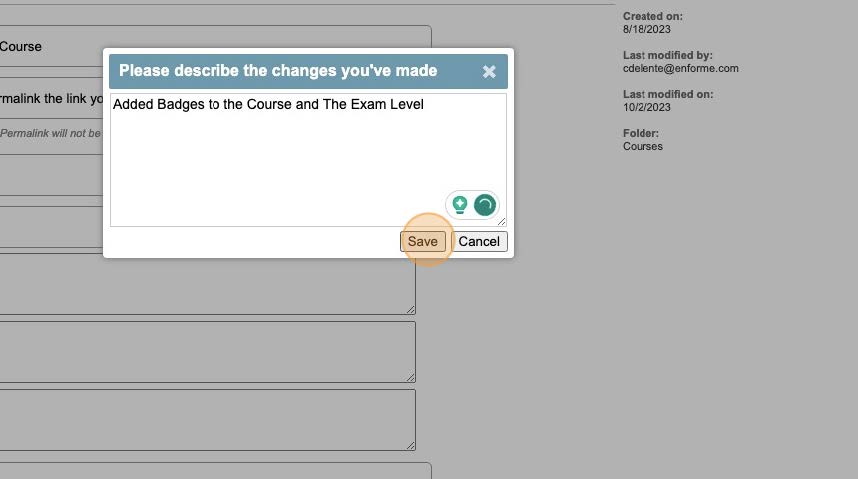
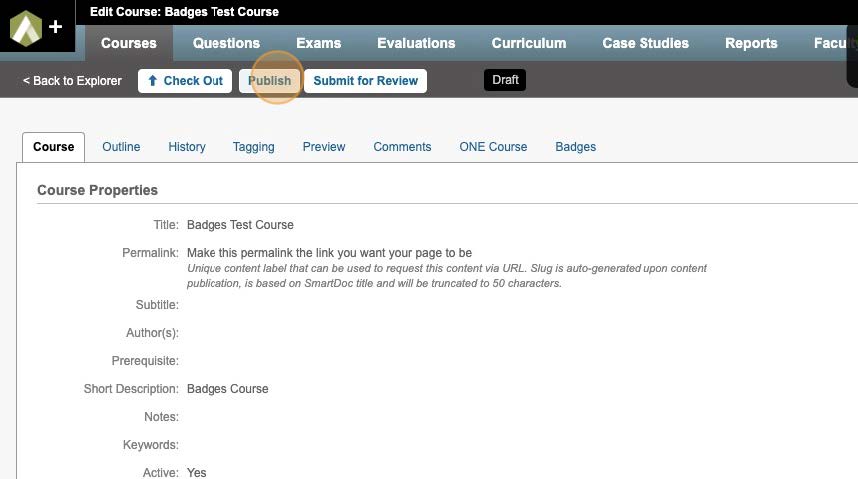
Step 16 : Click "Publish" to Publish the Course
BADGES: How to setup Sitemap pages
Step 1 : Add a page to the site map. This page is setup as a redirect to go to your Course Detail Page that has the "n4m Course Player" setup.
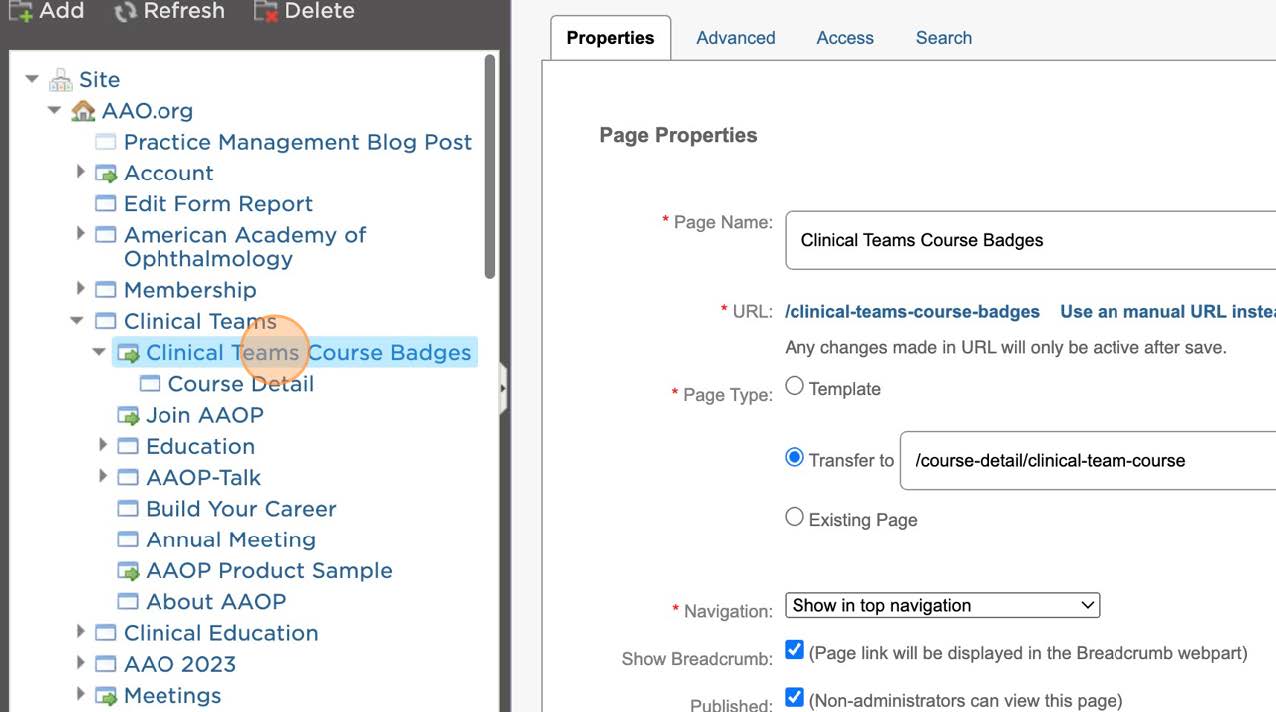
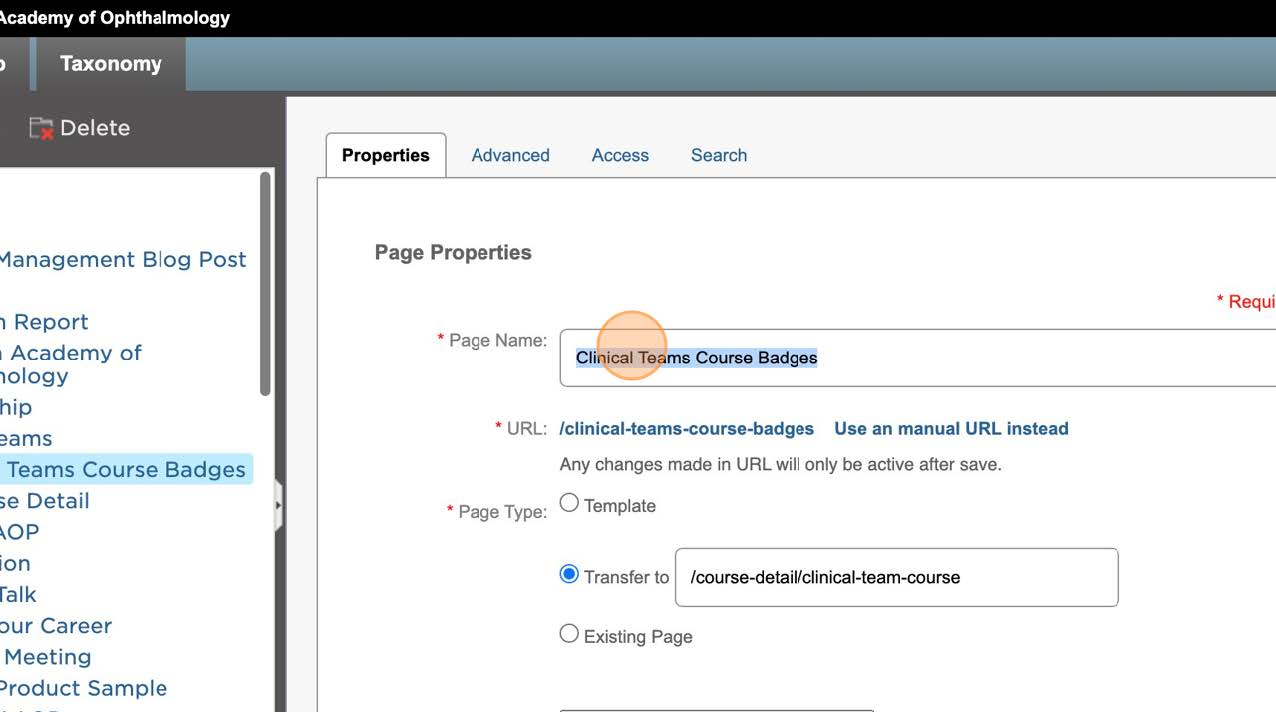
Step 2 : "Page Name:" field is what will be displayed on the site as the page name.
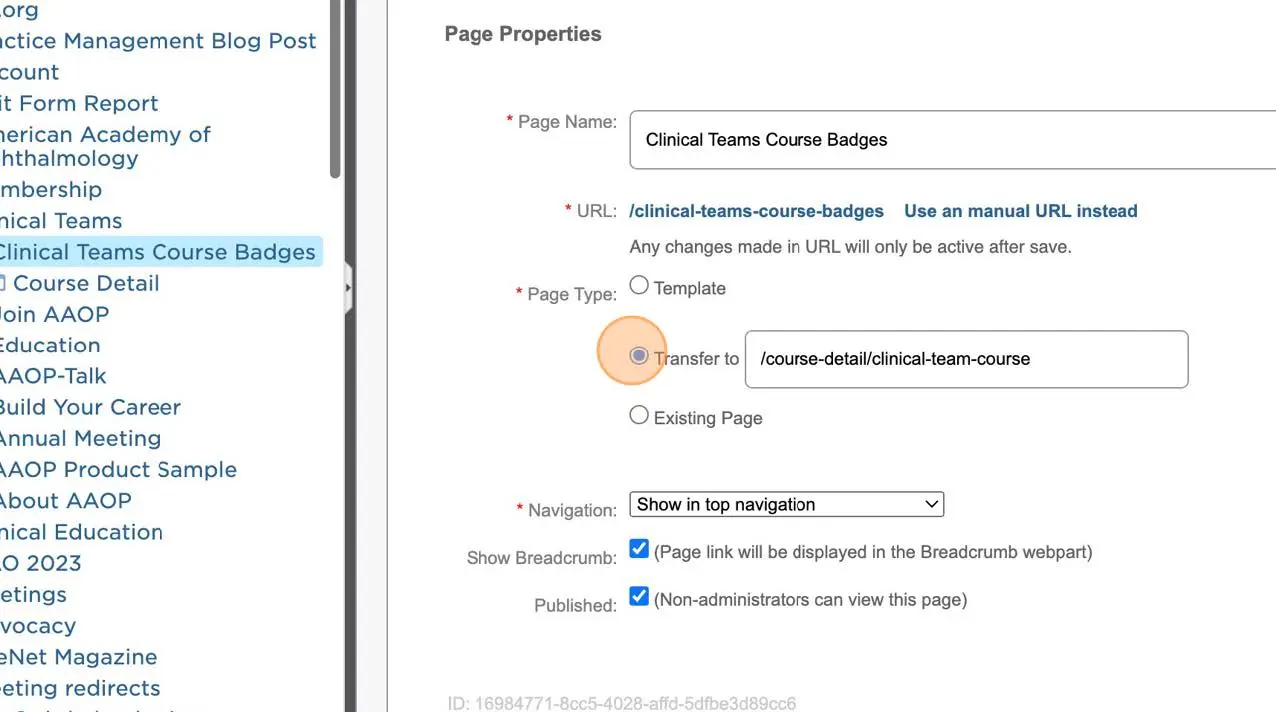
Step 3 : Transfer will be setup to show the Course Permalink that was setup in the course that you want to display.
Step 4 : The "Advanced" area does not need to be filled out as this is just needed in order for the Course to Display
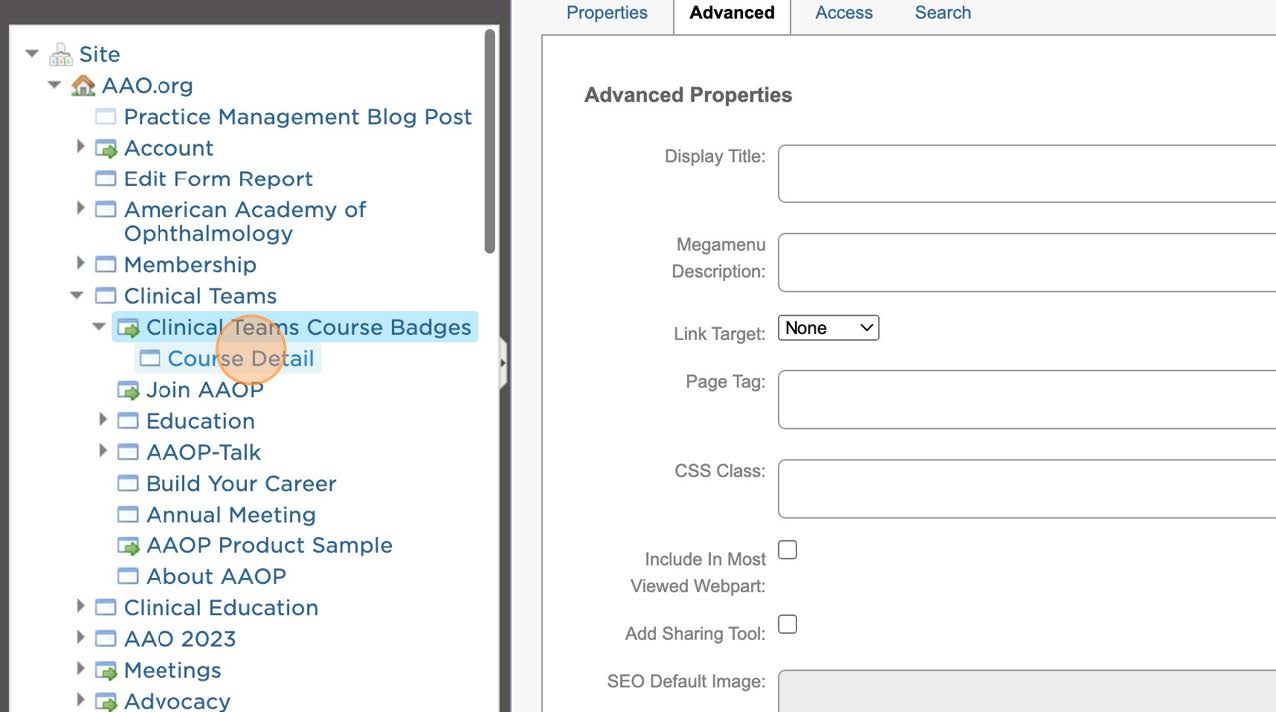
Step 5 : Create a "Course Detail" Page that will have the course and badge webpart on them.
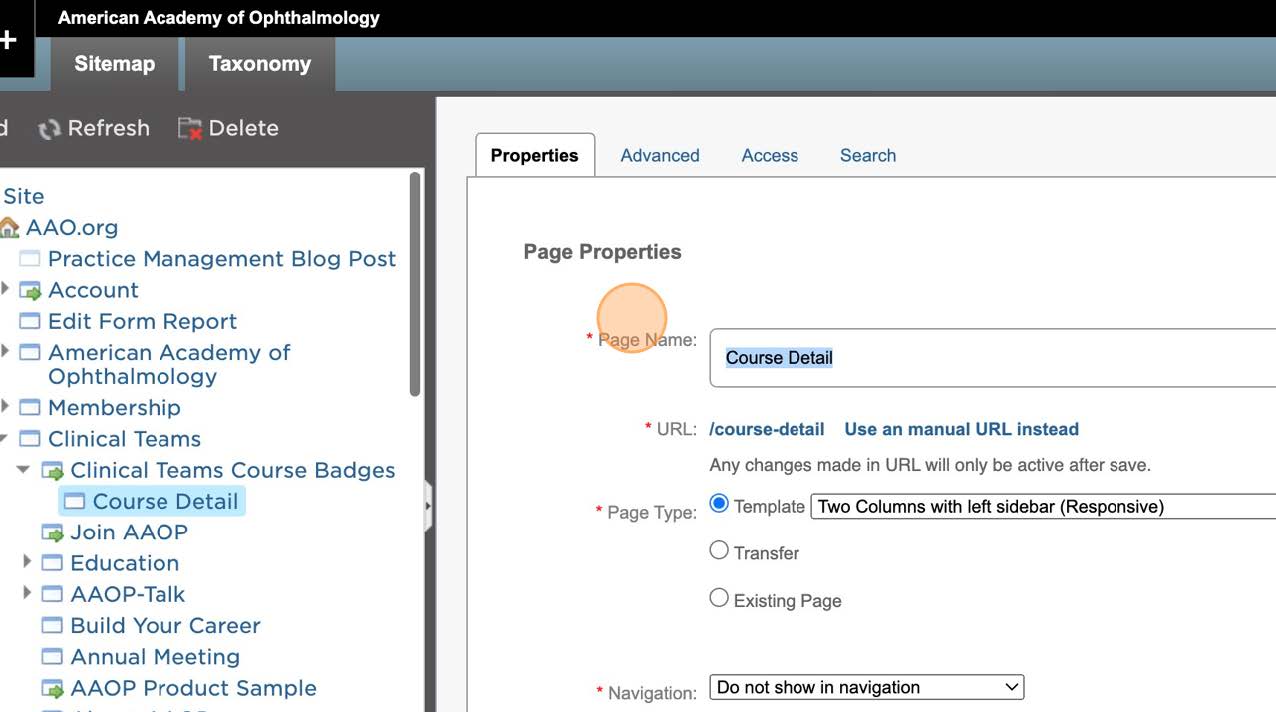
Step 6 : Page Name is what you want to call the detail page
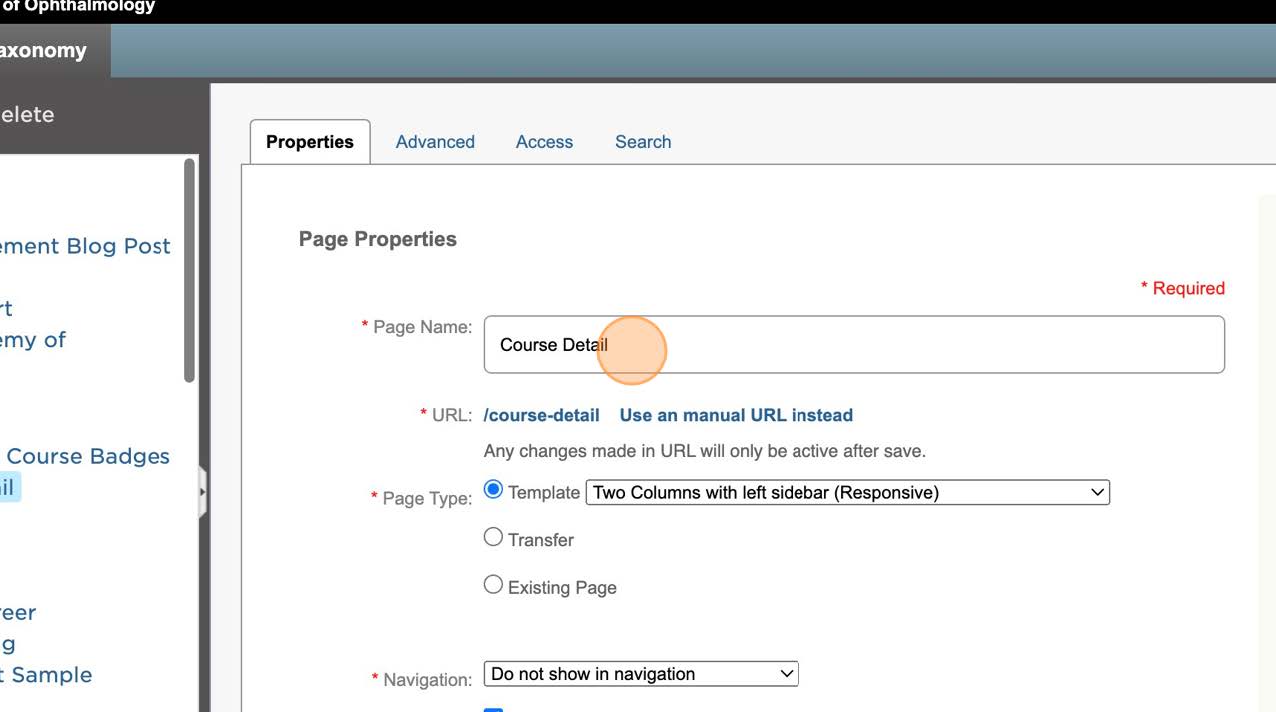
Step 7 : URL is what you want the URL for that page to be
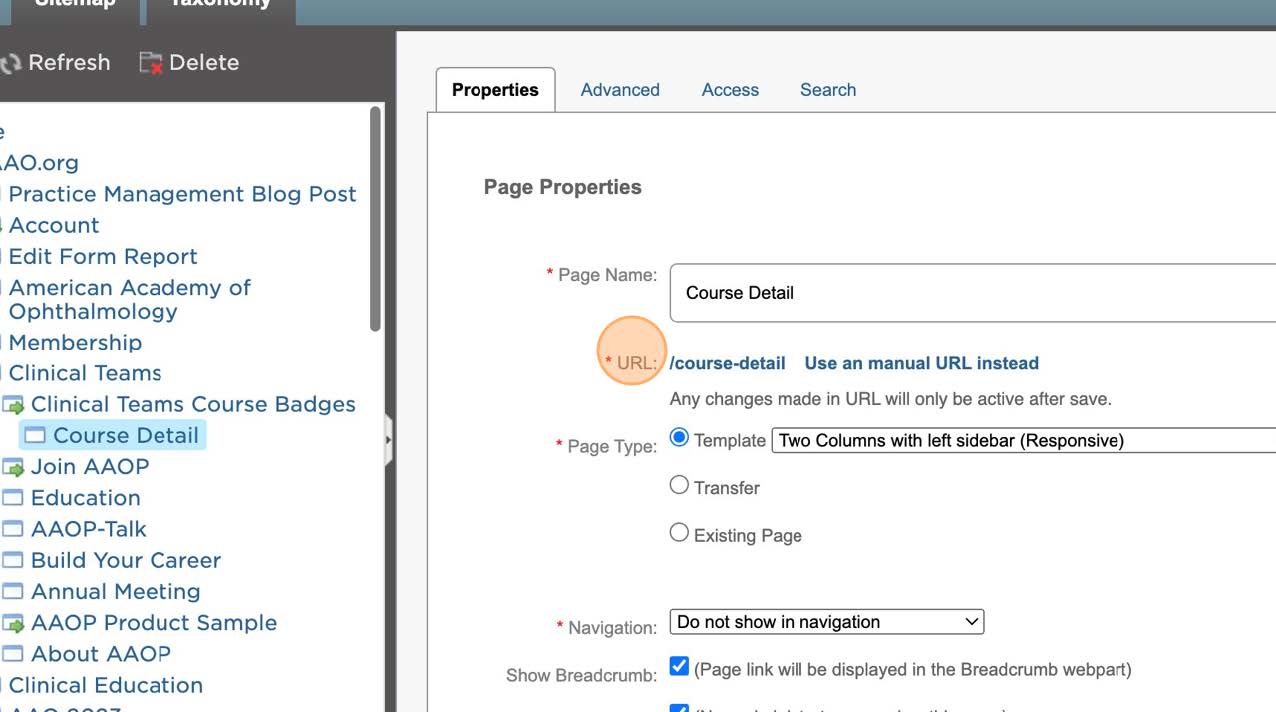
Step 8 : Click "Advanced"
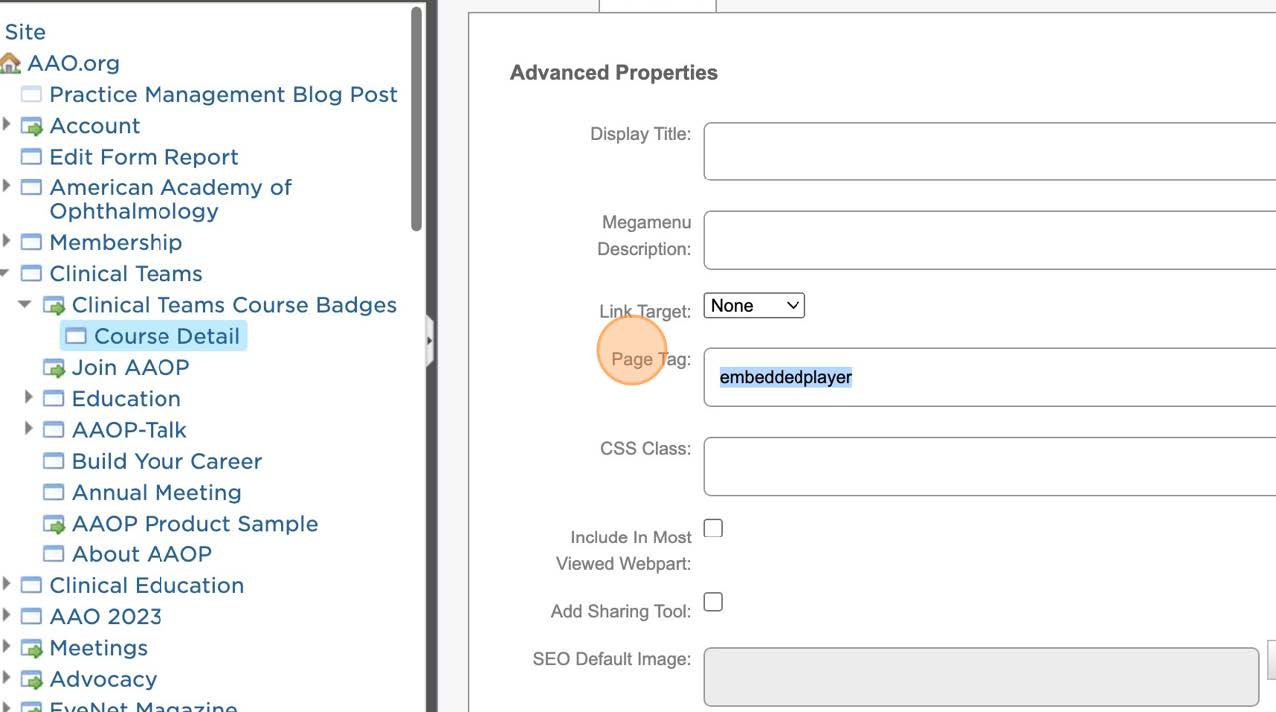
Step 9 : IF USING A DETAIL PAGE ONLY remember check the This is a content detail page IF USING A LISTING PAGE - Create a page tag to connect the listing to the detail and check the This is a content detail page.
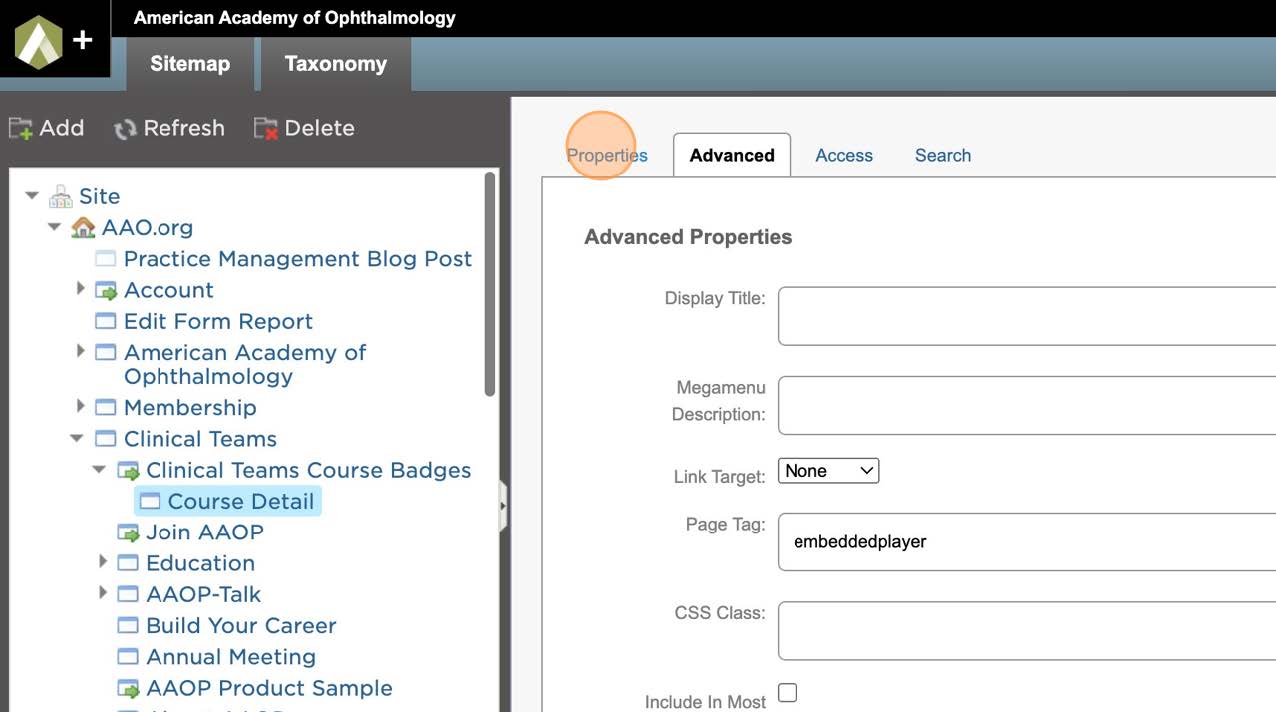
Badges: Adding n4m Course Player and n4m Course badges webparts to the page
Step 1 : Navigate to the page you want to put your webpart.
Step 2 : Select "n4m Course Badges" webpart and add that webpart to the page.
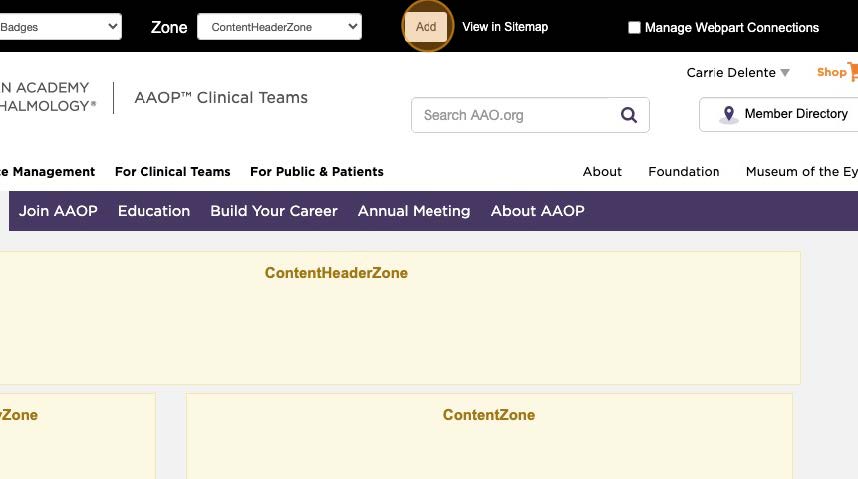
Step 3 : Click this dropdown.
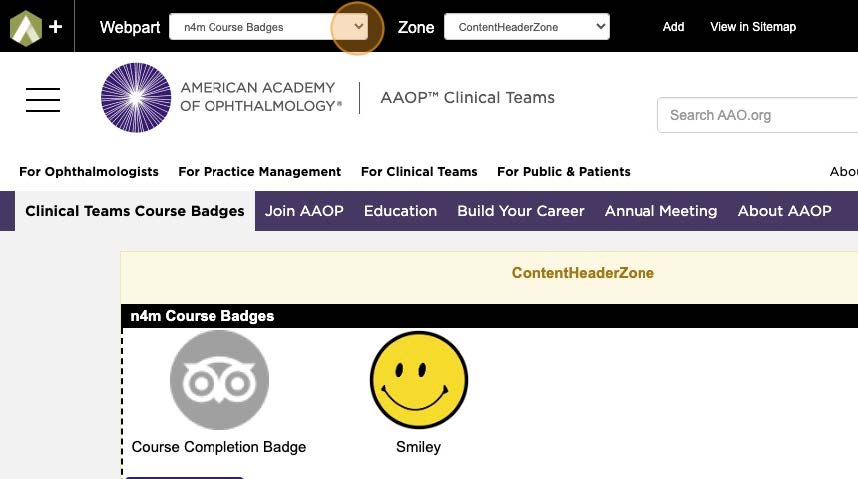
Step 4 : Click the "Save" button.
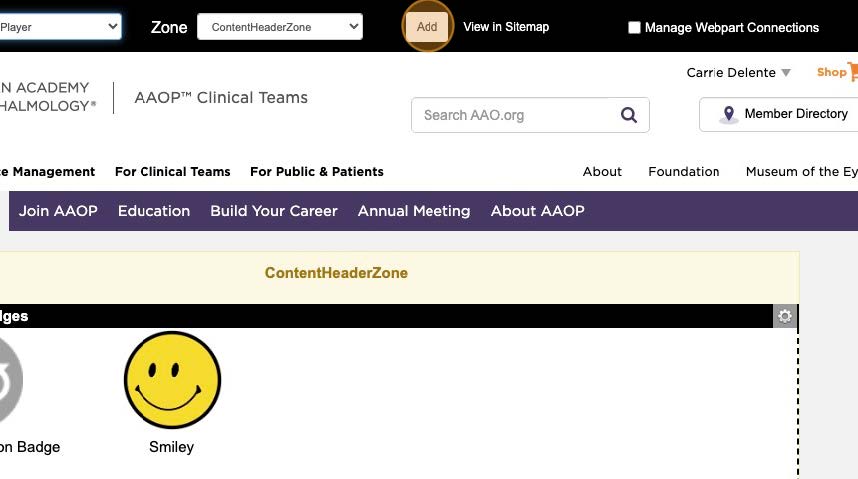
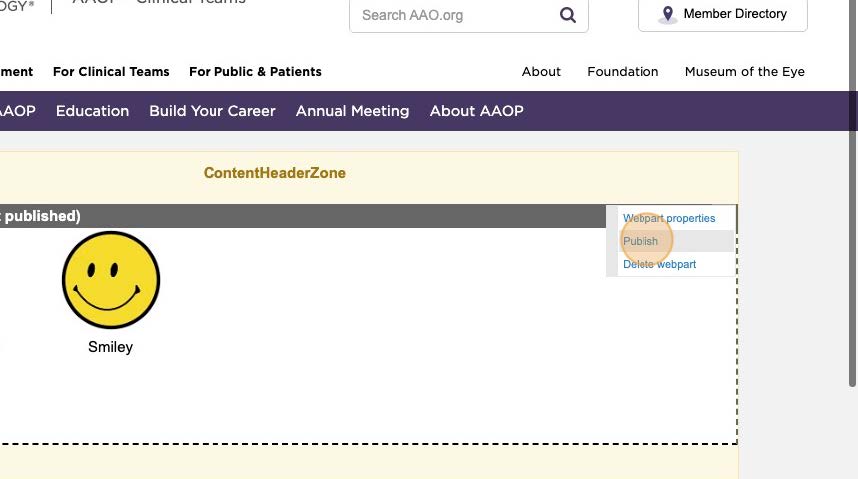
Step 5 : Click "Publish" to publish the webpart
Step 6 : Repeat the same steps and select "n4m Course Player" to add the course player to the page.
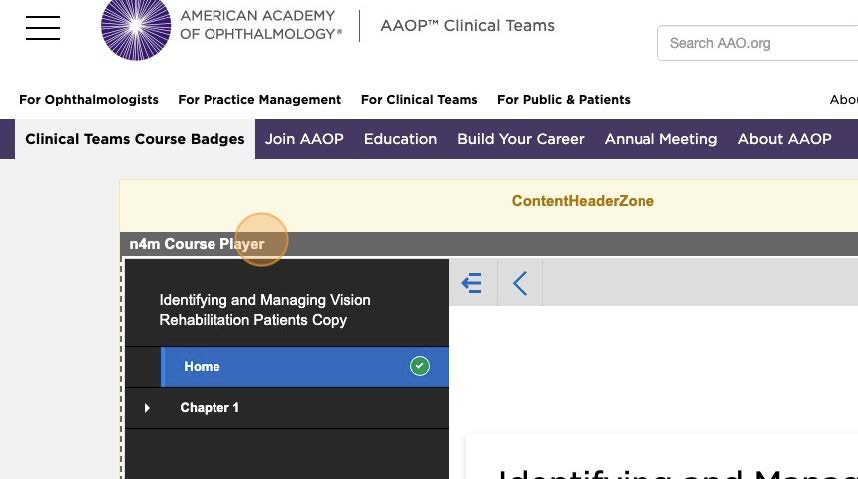
Step 7 : Click "Publish" when you are ready to publish the course to be viewed.
